The Buildstorm Android application is designed to showcase the core functionalities of the ESP32 ThingsBoard IoT Platform, which include:
- Device Provisioning: This feature allows users to seamlessly register devices, simplifying on-field deployment for commercial and industrial IoT applications.
- Telemetry Updates: Users can visualize real-time telemetry data, providing insights into device performance and status.
- Attribute Management: This feature enables users to control and manage the devices.
- Over-the-Air (OTA) Updates: Devices can be updated without requiring an internet connection, ensuring timely and convenient updates for improved functionality and security.
App Installation:
- To install the application on your Android device, use the provided APK file.
- Upon launching the mobile app for the first time, you will be prompted to grant permissions for ‘Location and Bluetooth Access.’ Kindly provide the necessary permissions.
Prerequisites:
- Ensure a stable internet connection is available on the mobile device.
- Enable Bluetooth functionality on the mobile device.
- Maintain a direct line-of-sight range of up to 10 meters between the ESP32 and the mobile device.
- Utilize 2.4GHz WiFi connectivity, ensuring both SSID and password are under 30 characters in length.
Procedure
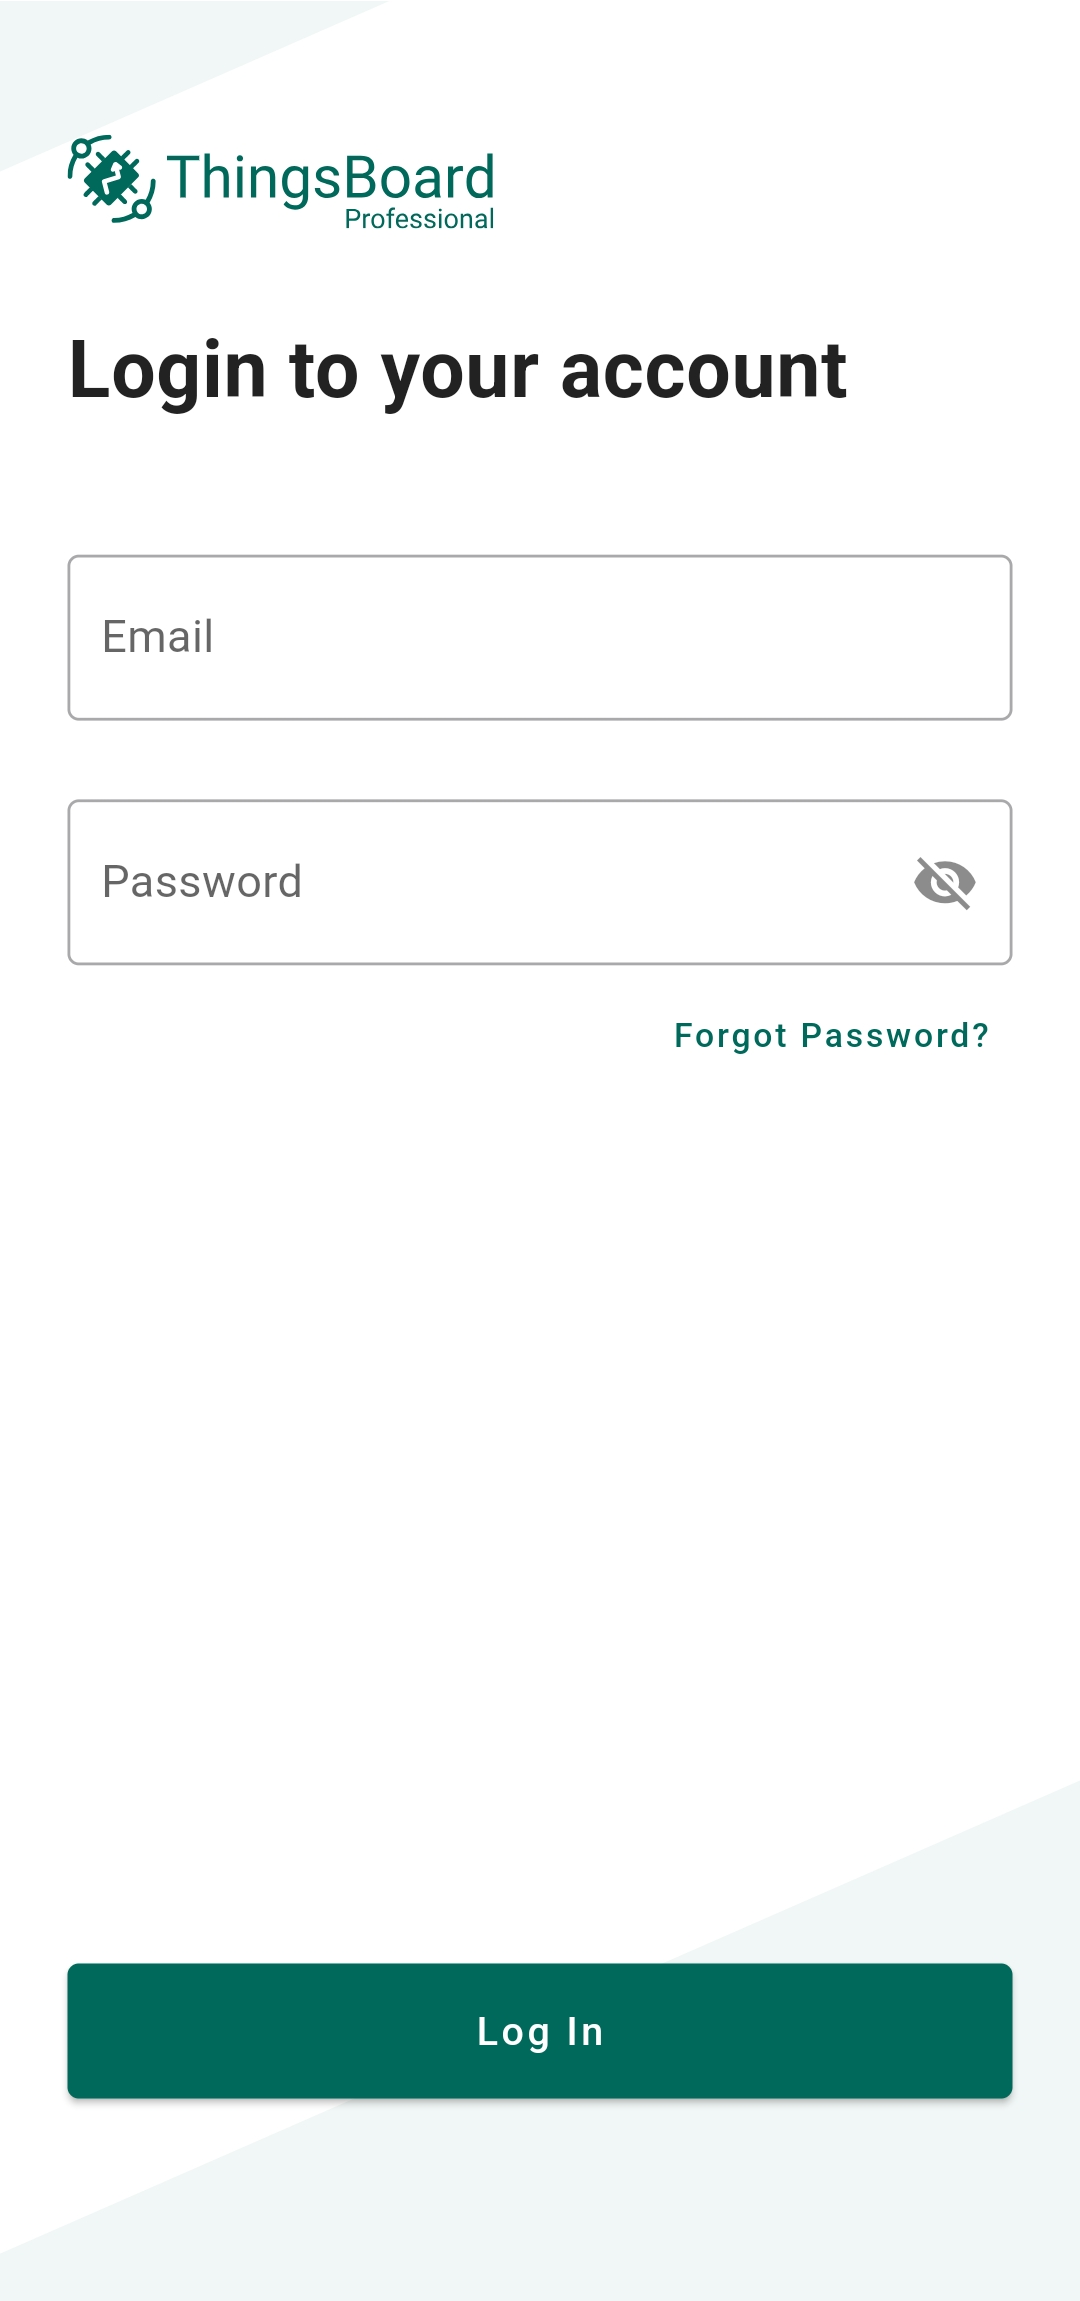
ThingsBoard Login Page
- Enter your ThingsBoard Cloud ‘Email’ and ‘Password’ to log in to the account.
ThingsBoard Configuration
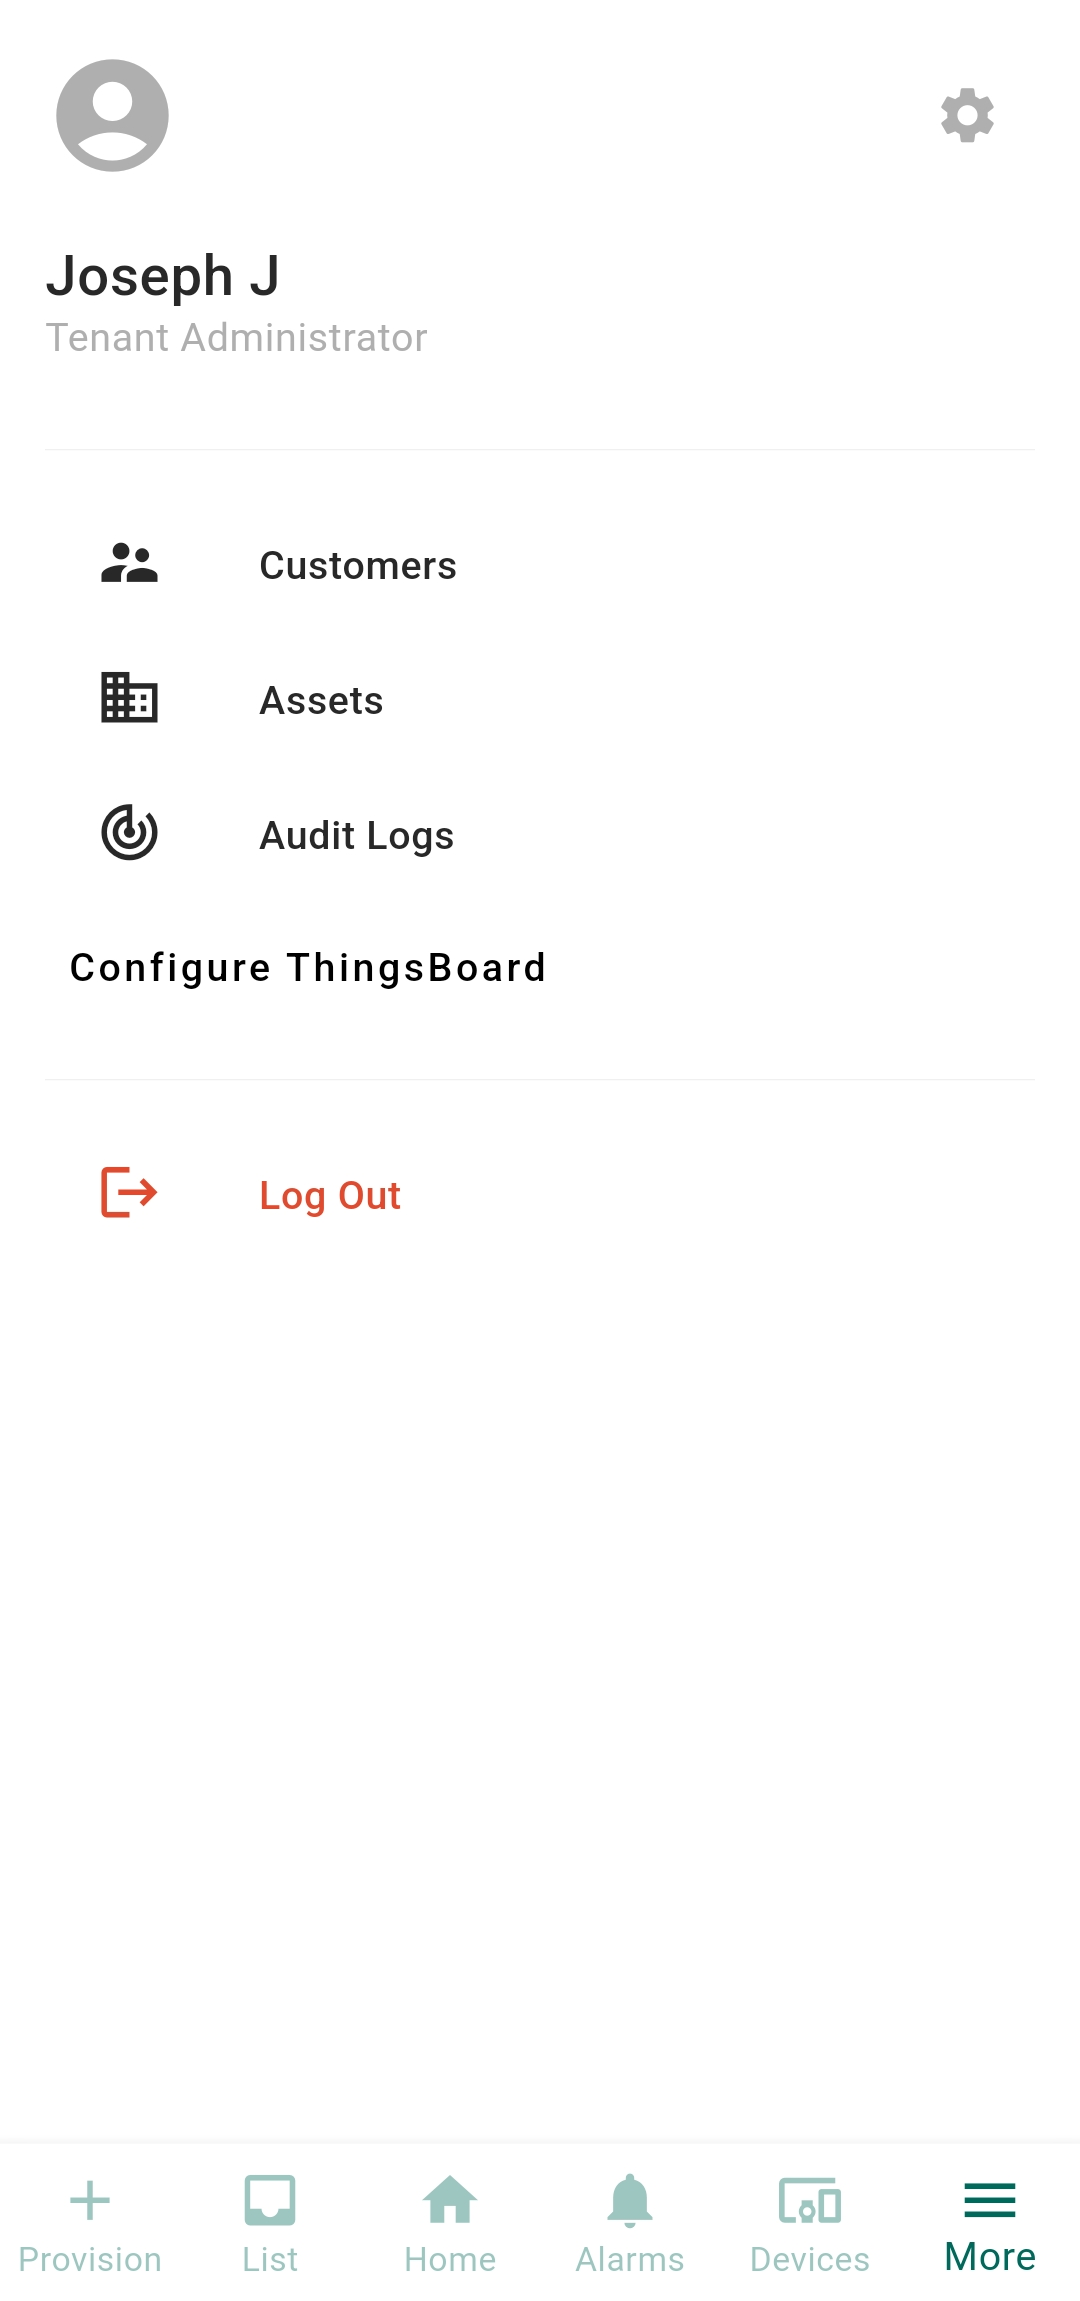
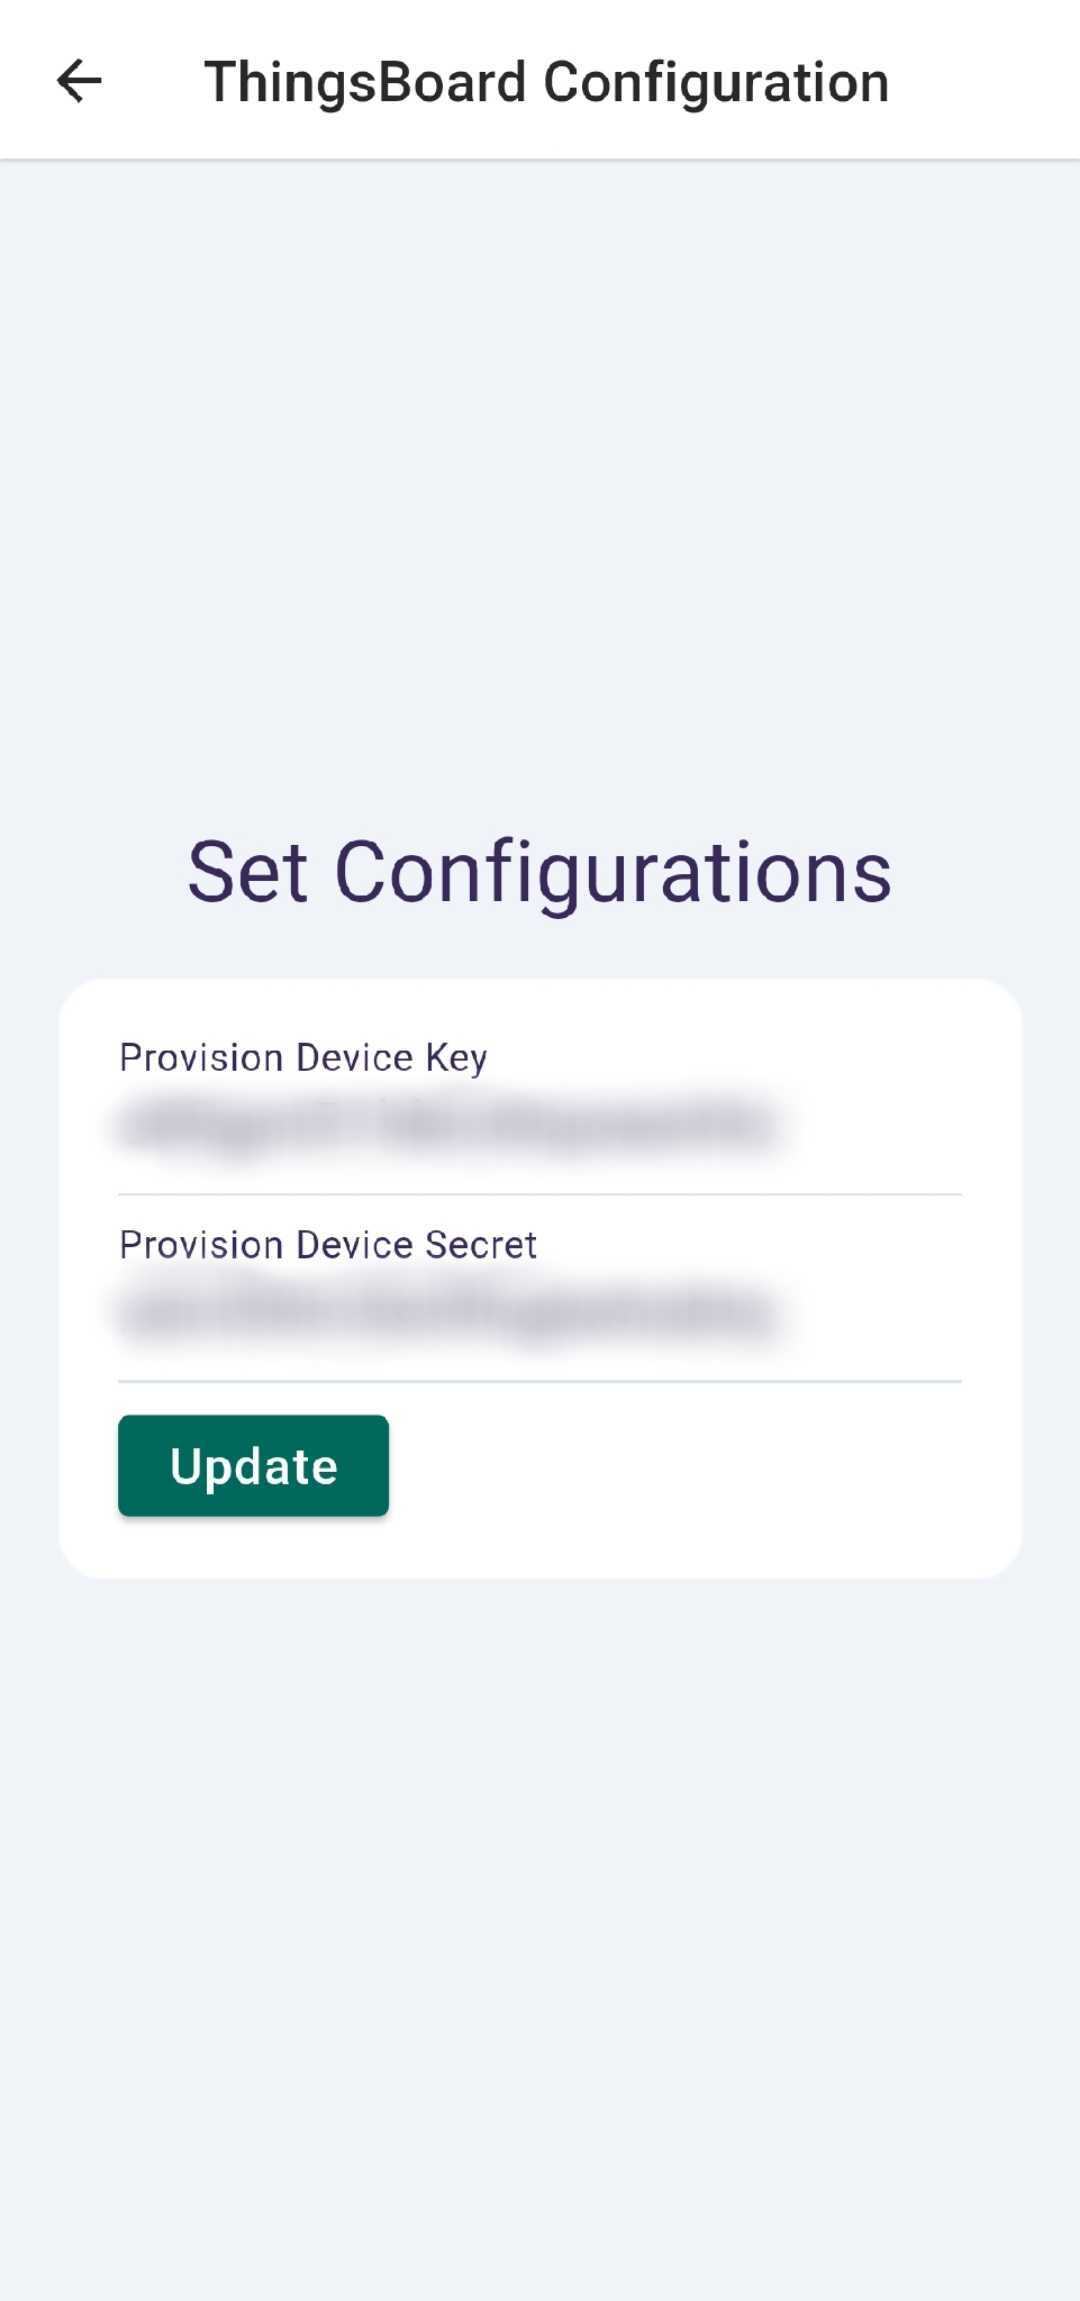
- To Set the ThingsBoard Configuration, click on the ‘More’ ☰ and select ‘Configure ThingsBoard’ option.
- In the ThingsBoard Configuration page Set your ‘Provision Device Key’ and ‘Provision Device Secret’.
Device Selection
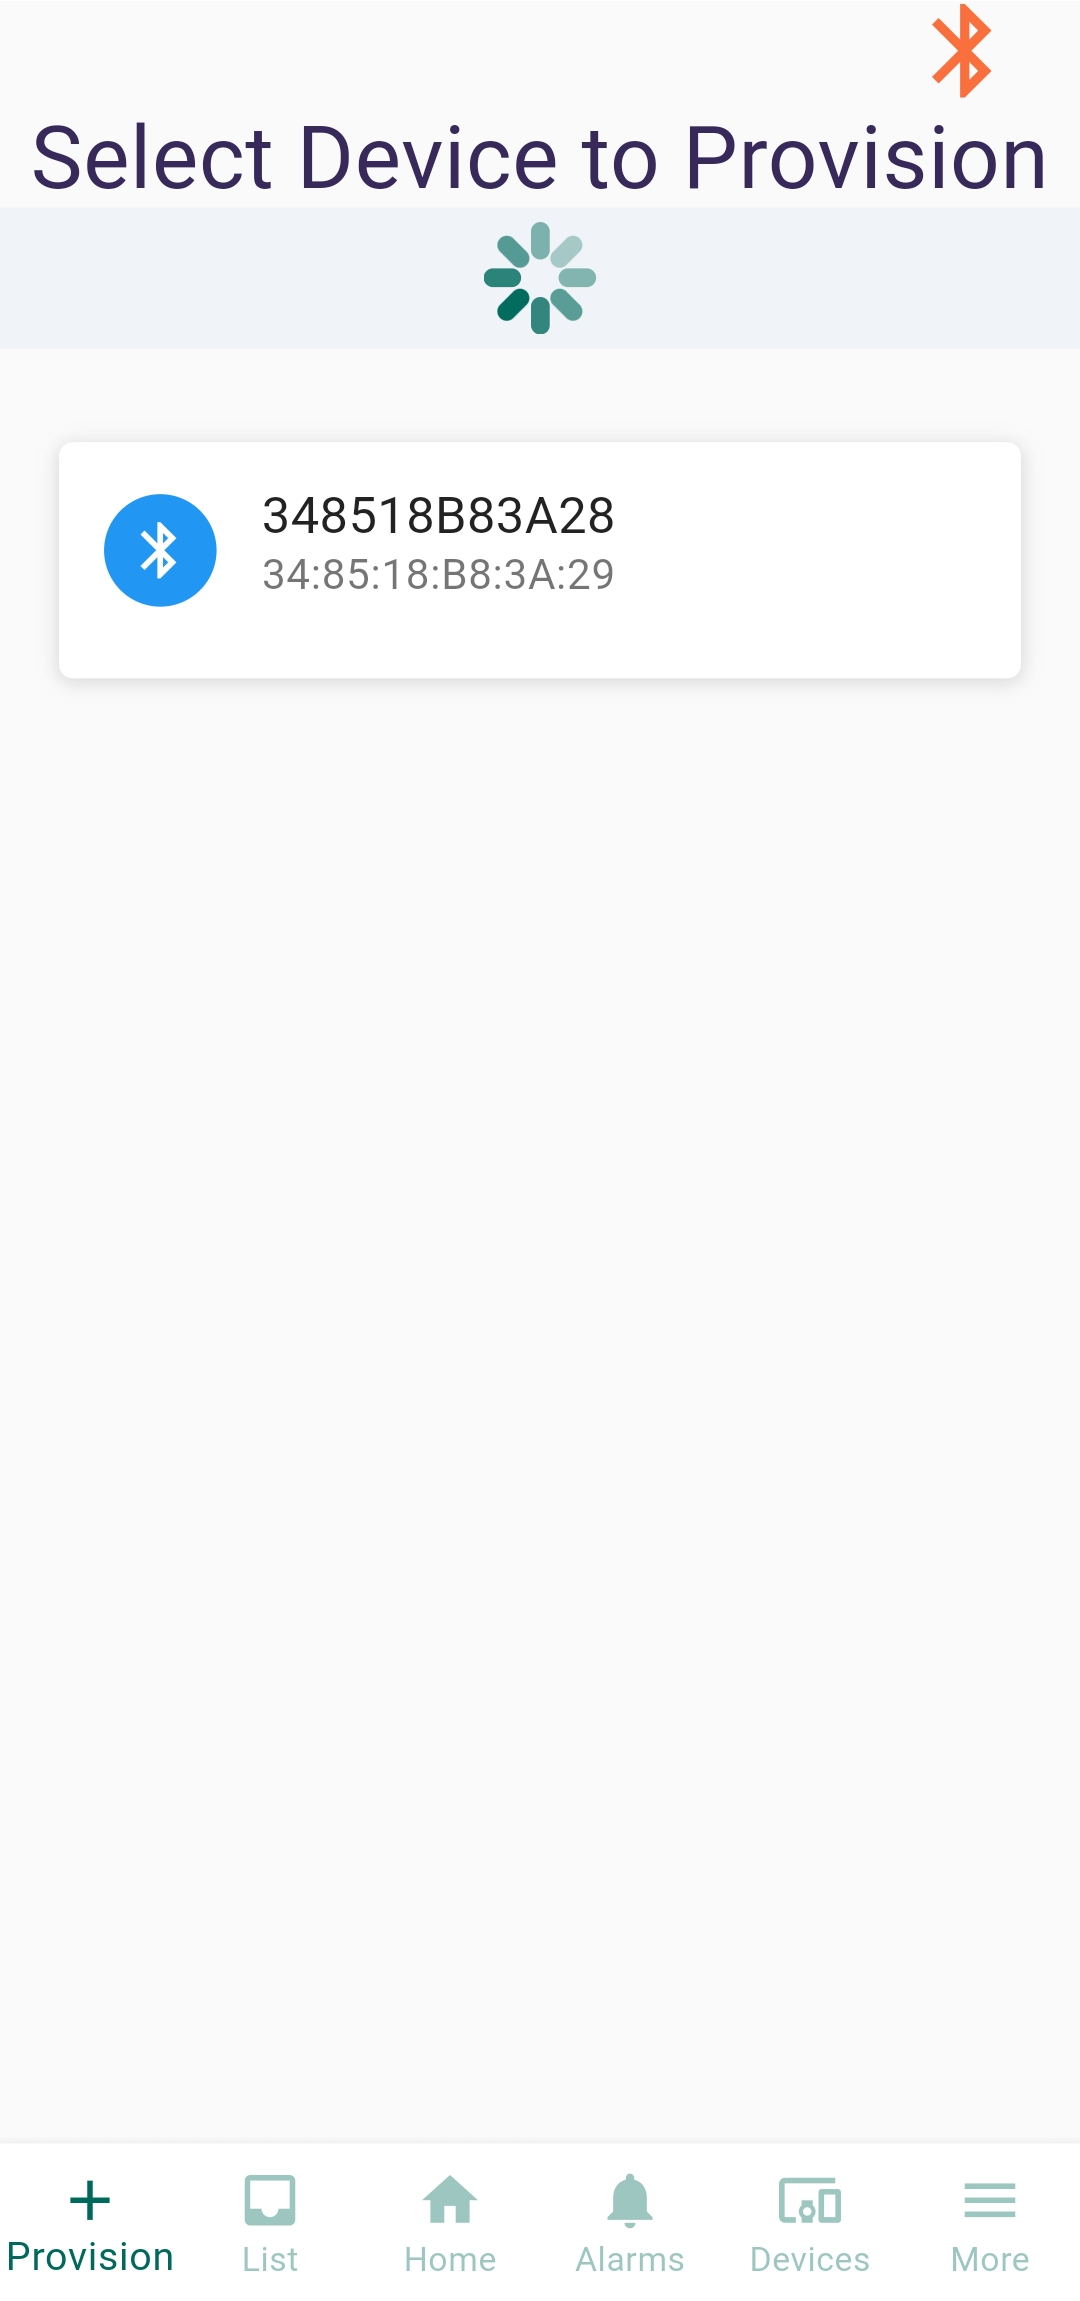
- Click on the ‘+’ icon to provision a new device.You shall see a loading screen. Wait till it completes the scanning of available BLE devices.
- Select your ESP32 device from the displayed list.
Configuring Wifi and Registering the Device
- The app will retrieve the available Wifi list from the ESP32 device.
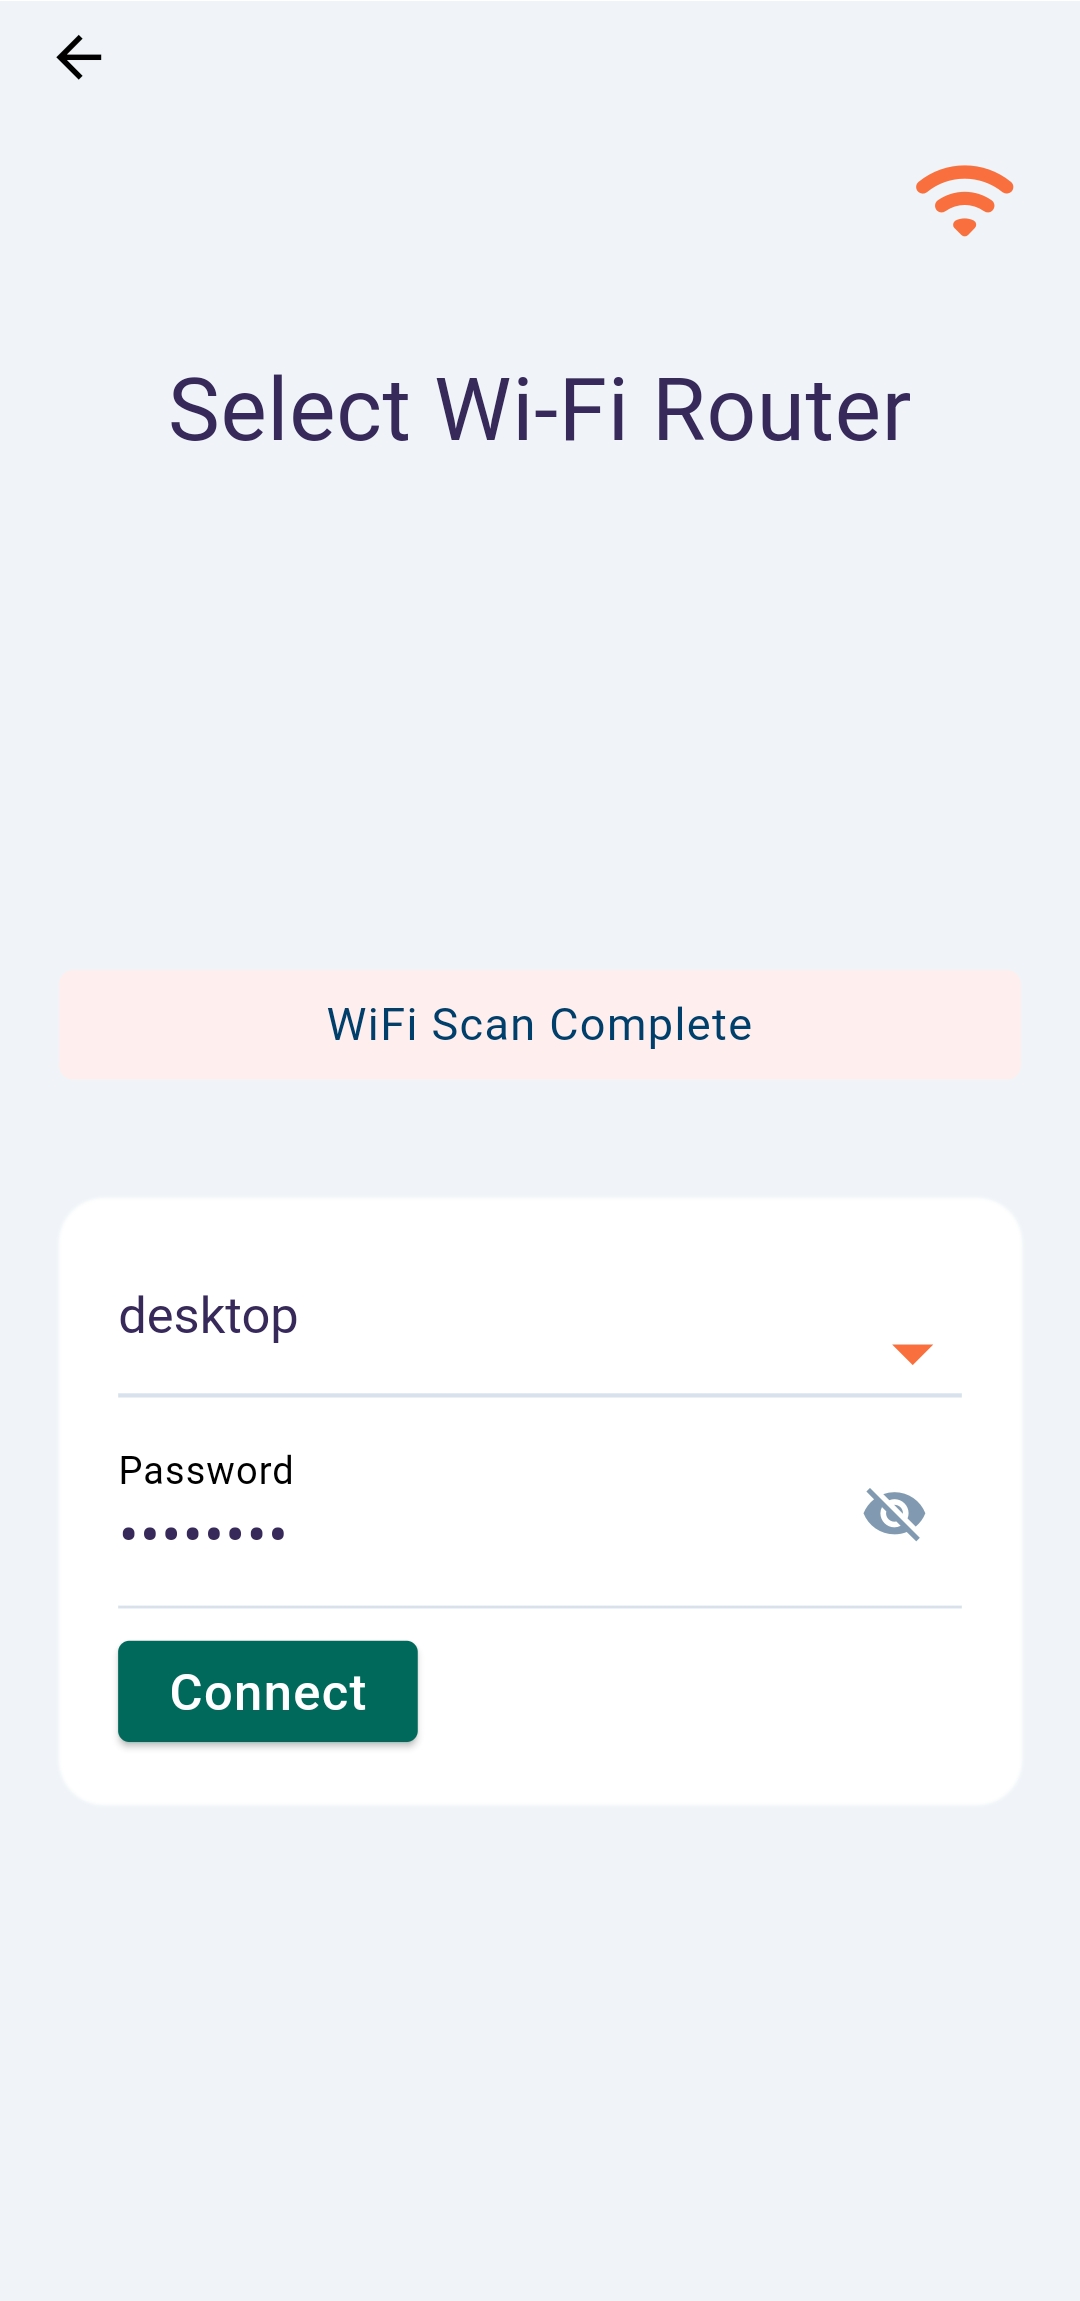
- Select your SSID from the dropdown menu and input the password.
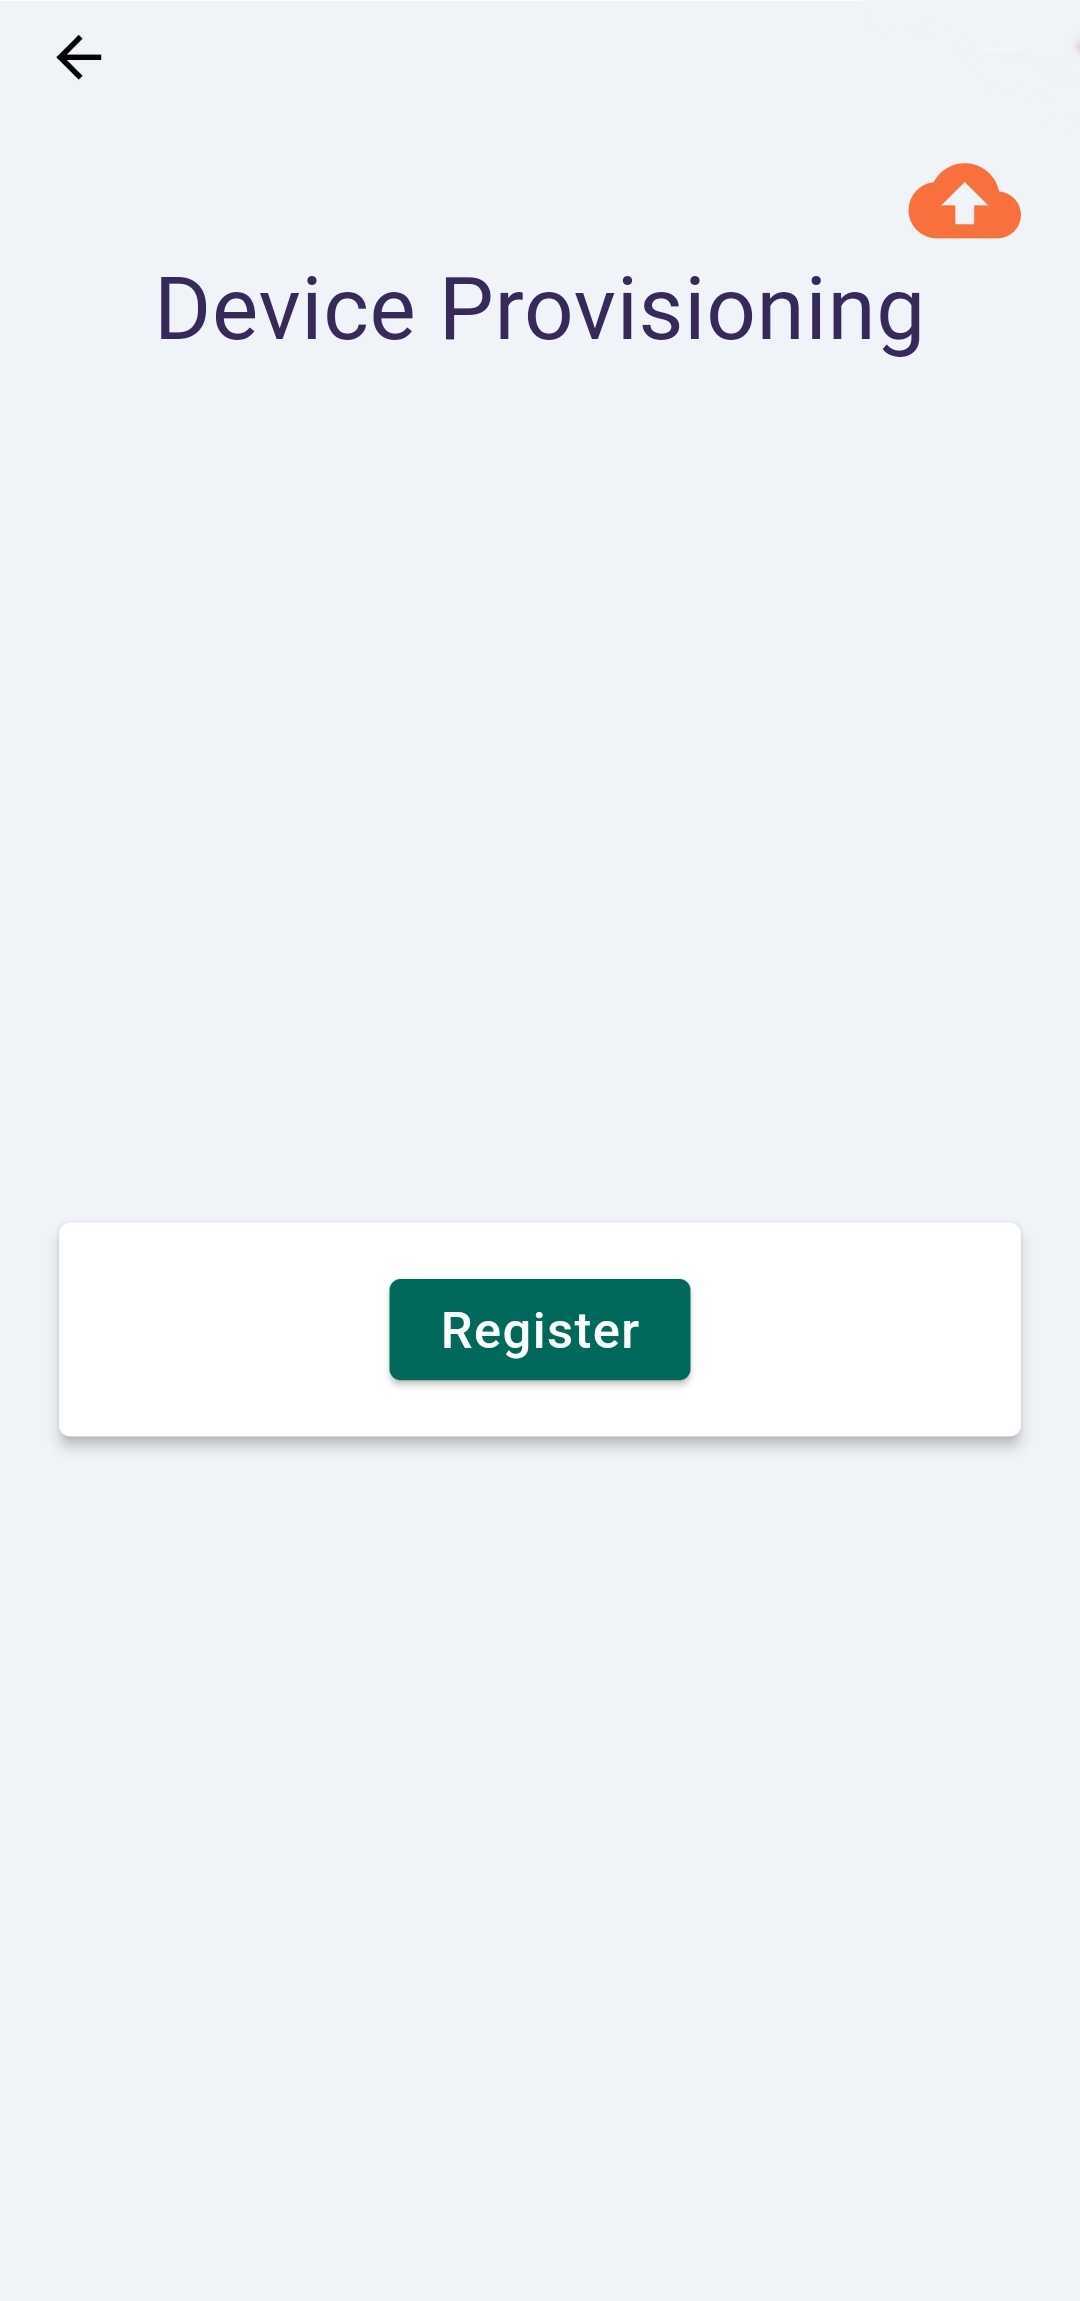
- Click ‘Connect’ to proceed, followed by choosing ‘Register’ on the subsequent page to complete the process.
Device List
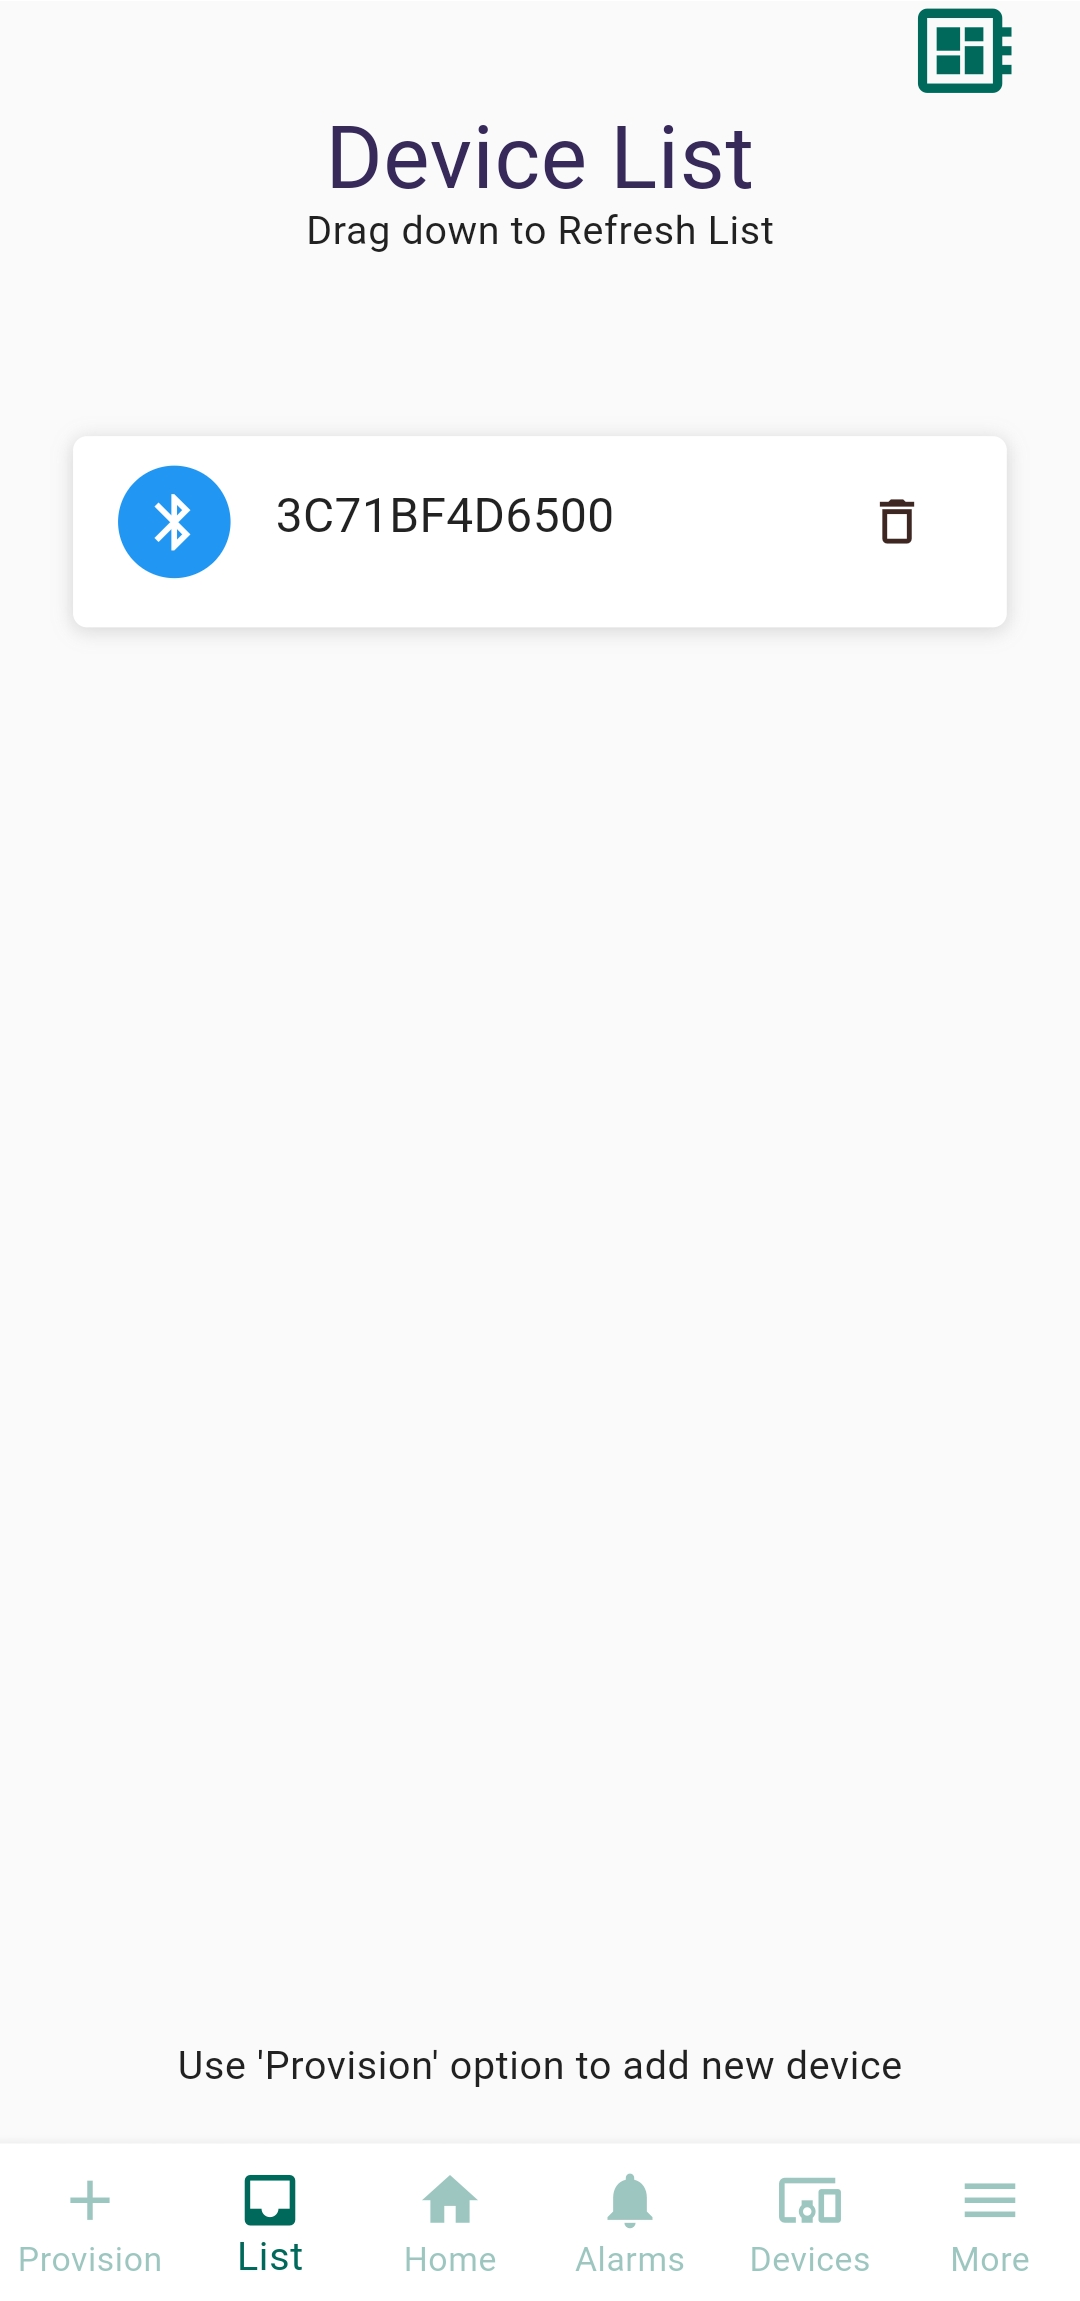
- To view the devices already registered, tap on ‘List’ in the bottom navigation bar.
- Tap on the device to access its details.
- Click on ‘+ Provision’ in the bottom navigation bar to add a new device.
Device Insights
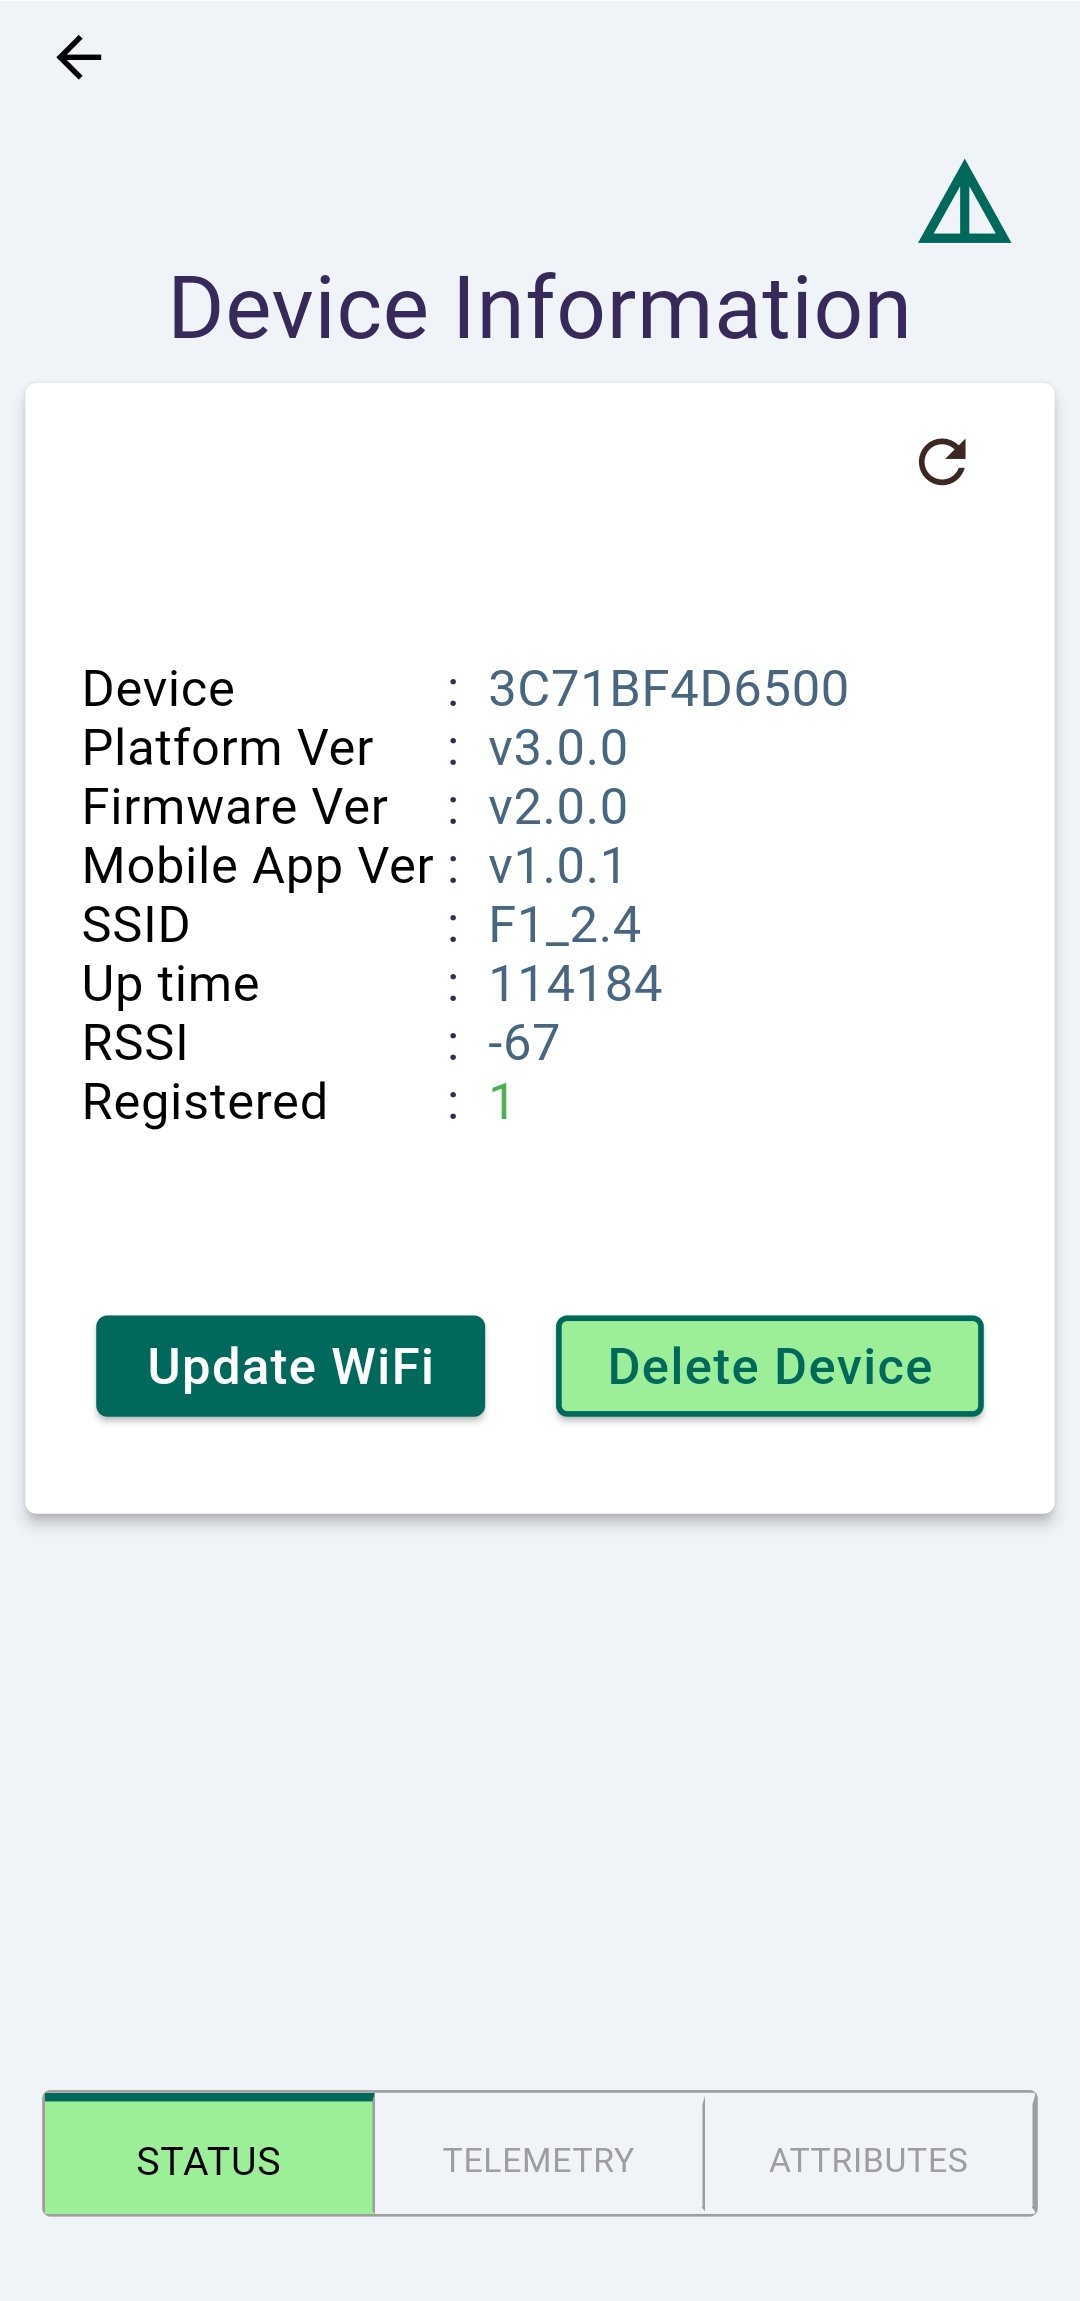
- Explore detailed device information on this page.
- Easily update your WiFi credentials by choosing ‘Update WiFi’ a seamless way to keep your ESP32 device connected.
- For a clean slate, the ‘Delete Device’ feature not only removes the device but also wipes all its configuration data from the ESP32 device.
Telemetry
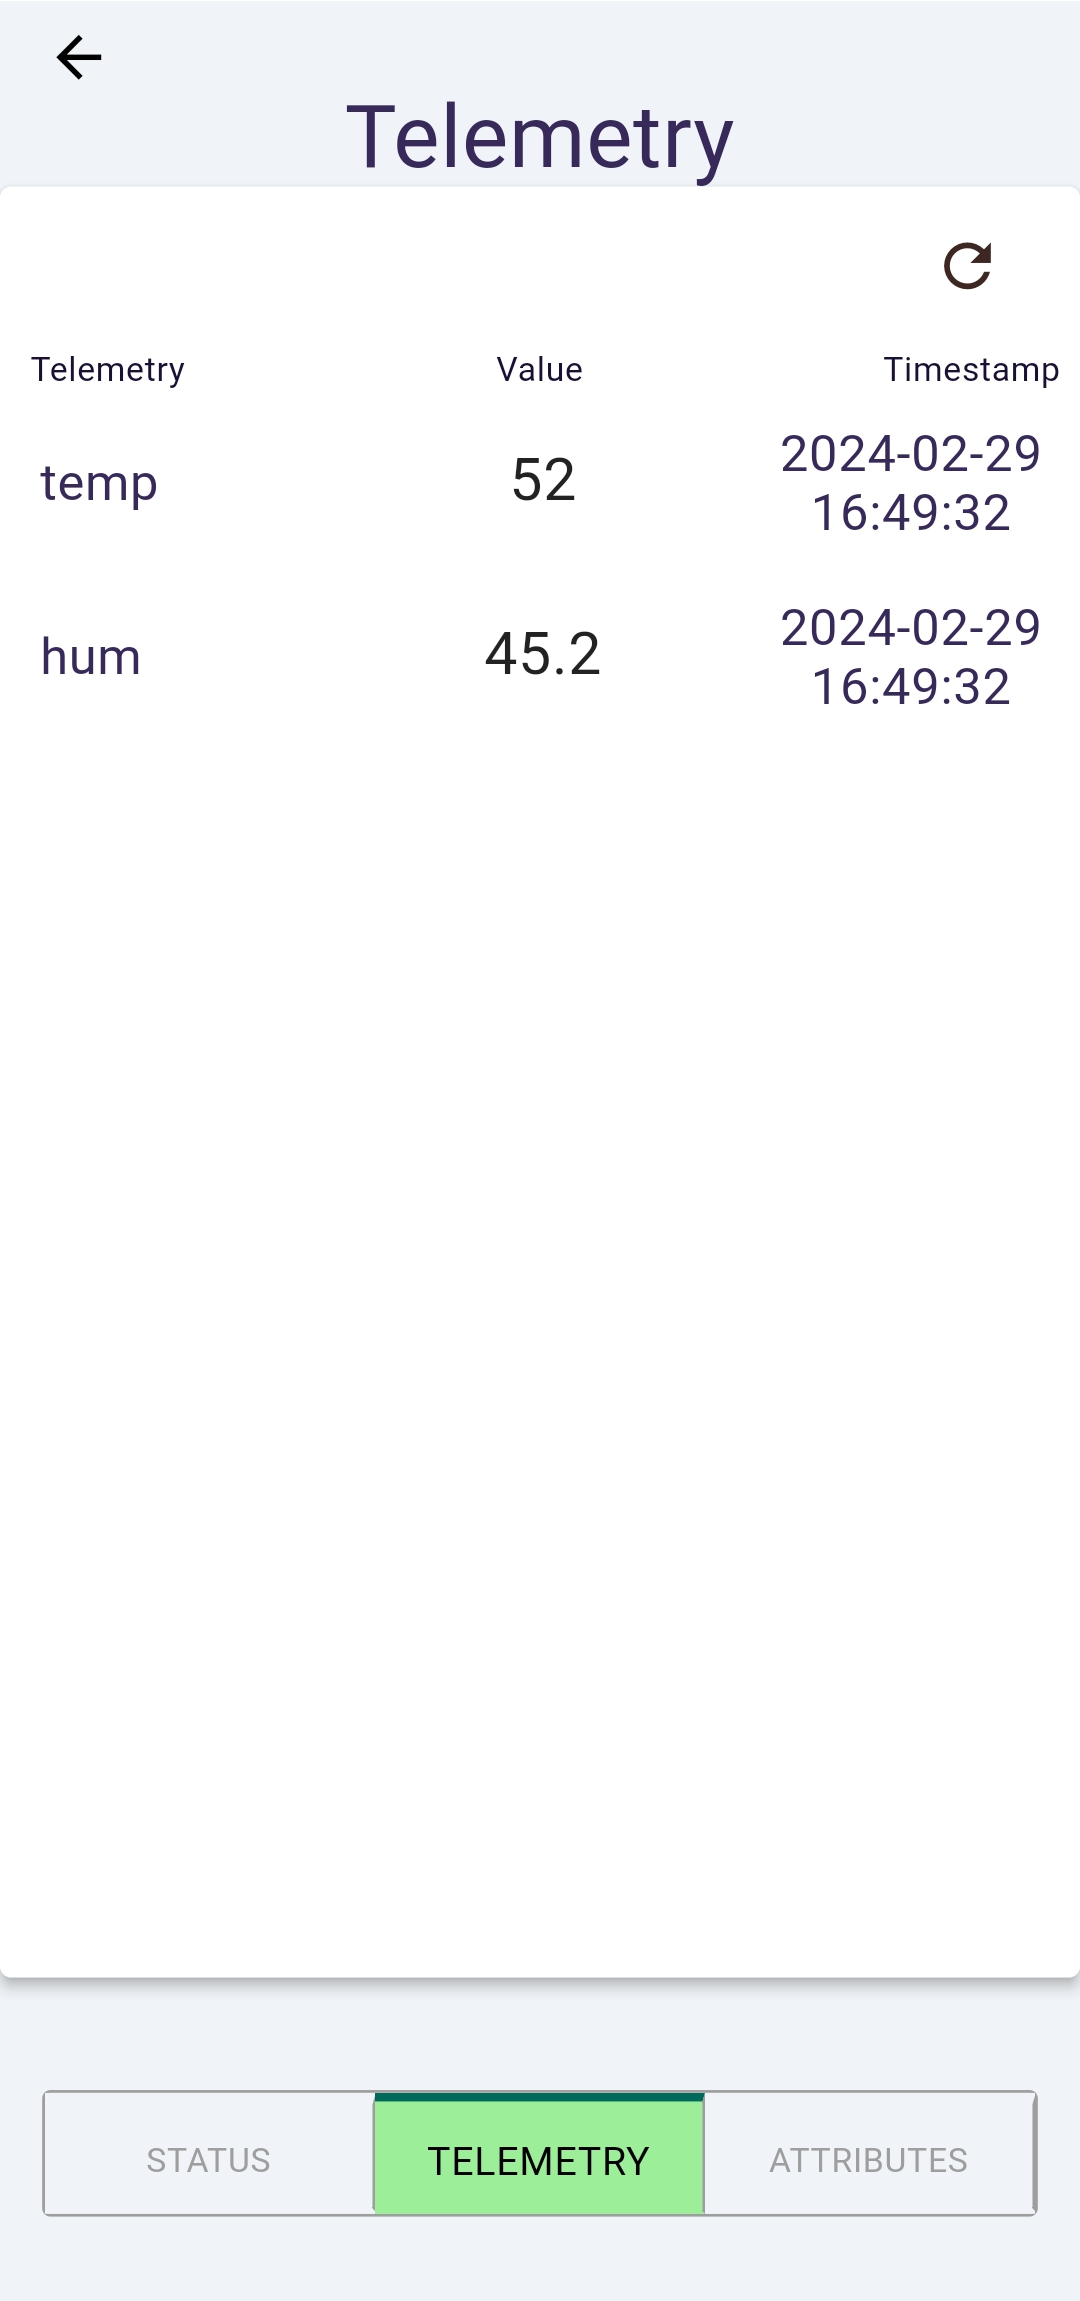
- In the bottom menu, select the ‘TELEMETRY’ option.
- Here, you can see the latest values of the telemetry and timestamps directly from the cloud.
Attributes
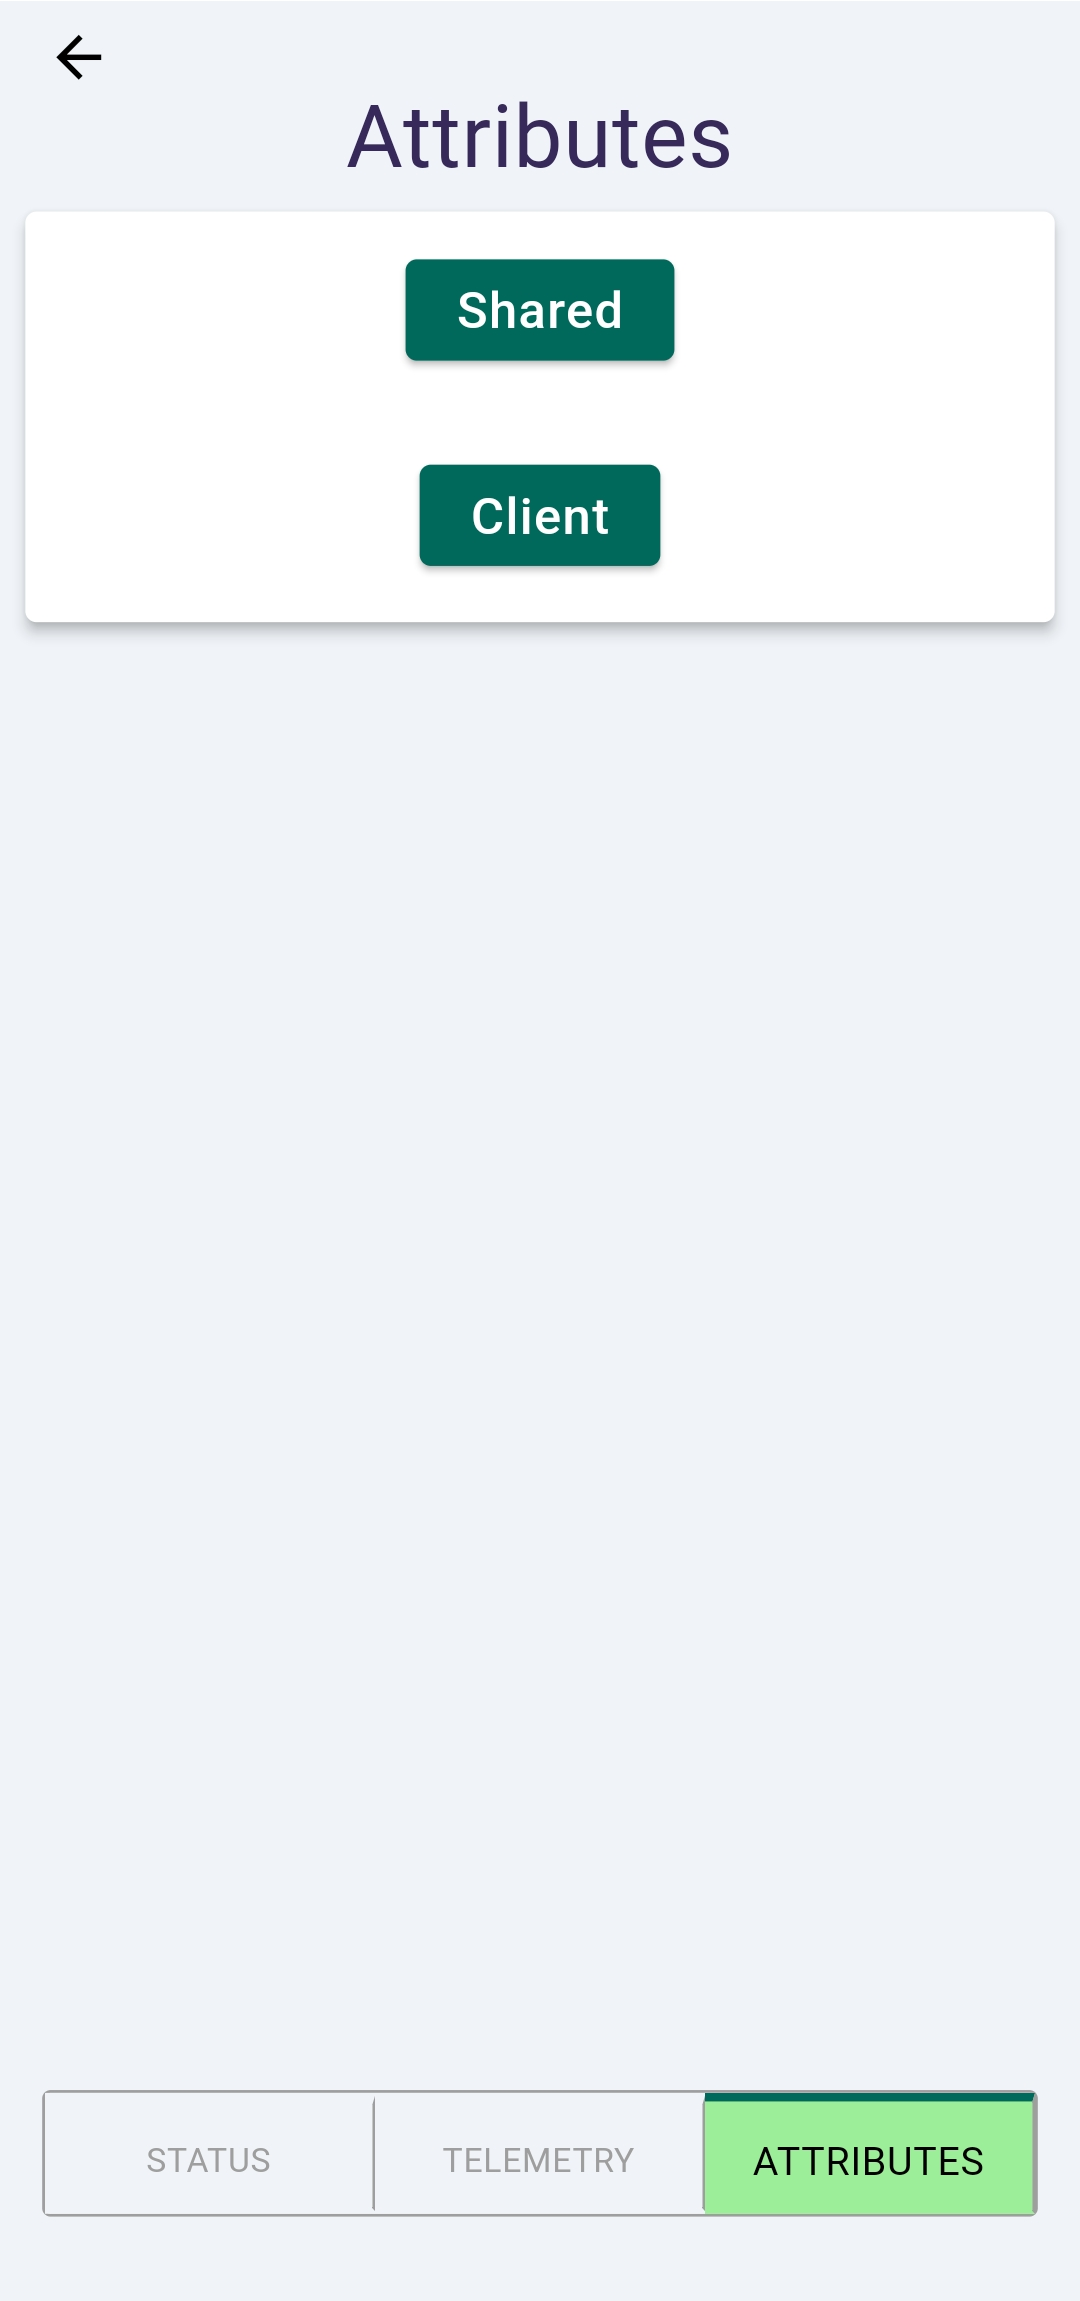
- In the bottom menu, select the ‘ATTRIBUTES’ option.
- Click the ‘Shared’ button to view the shared attributes page.
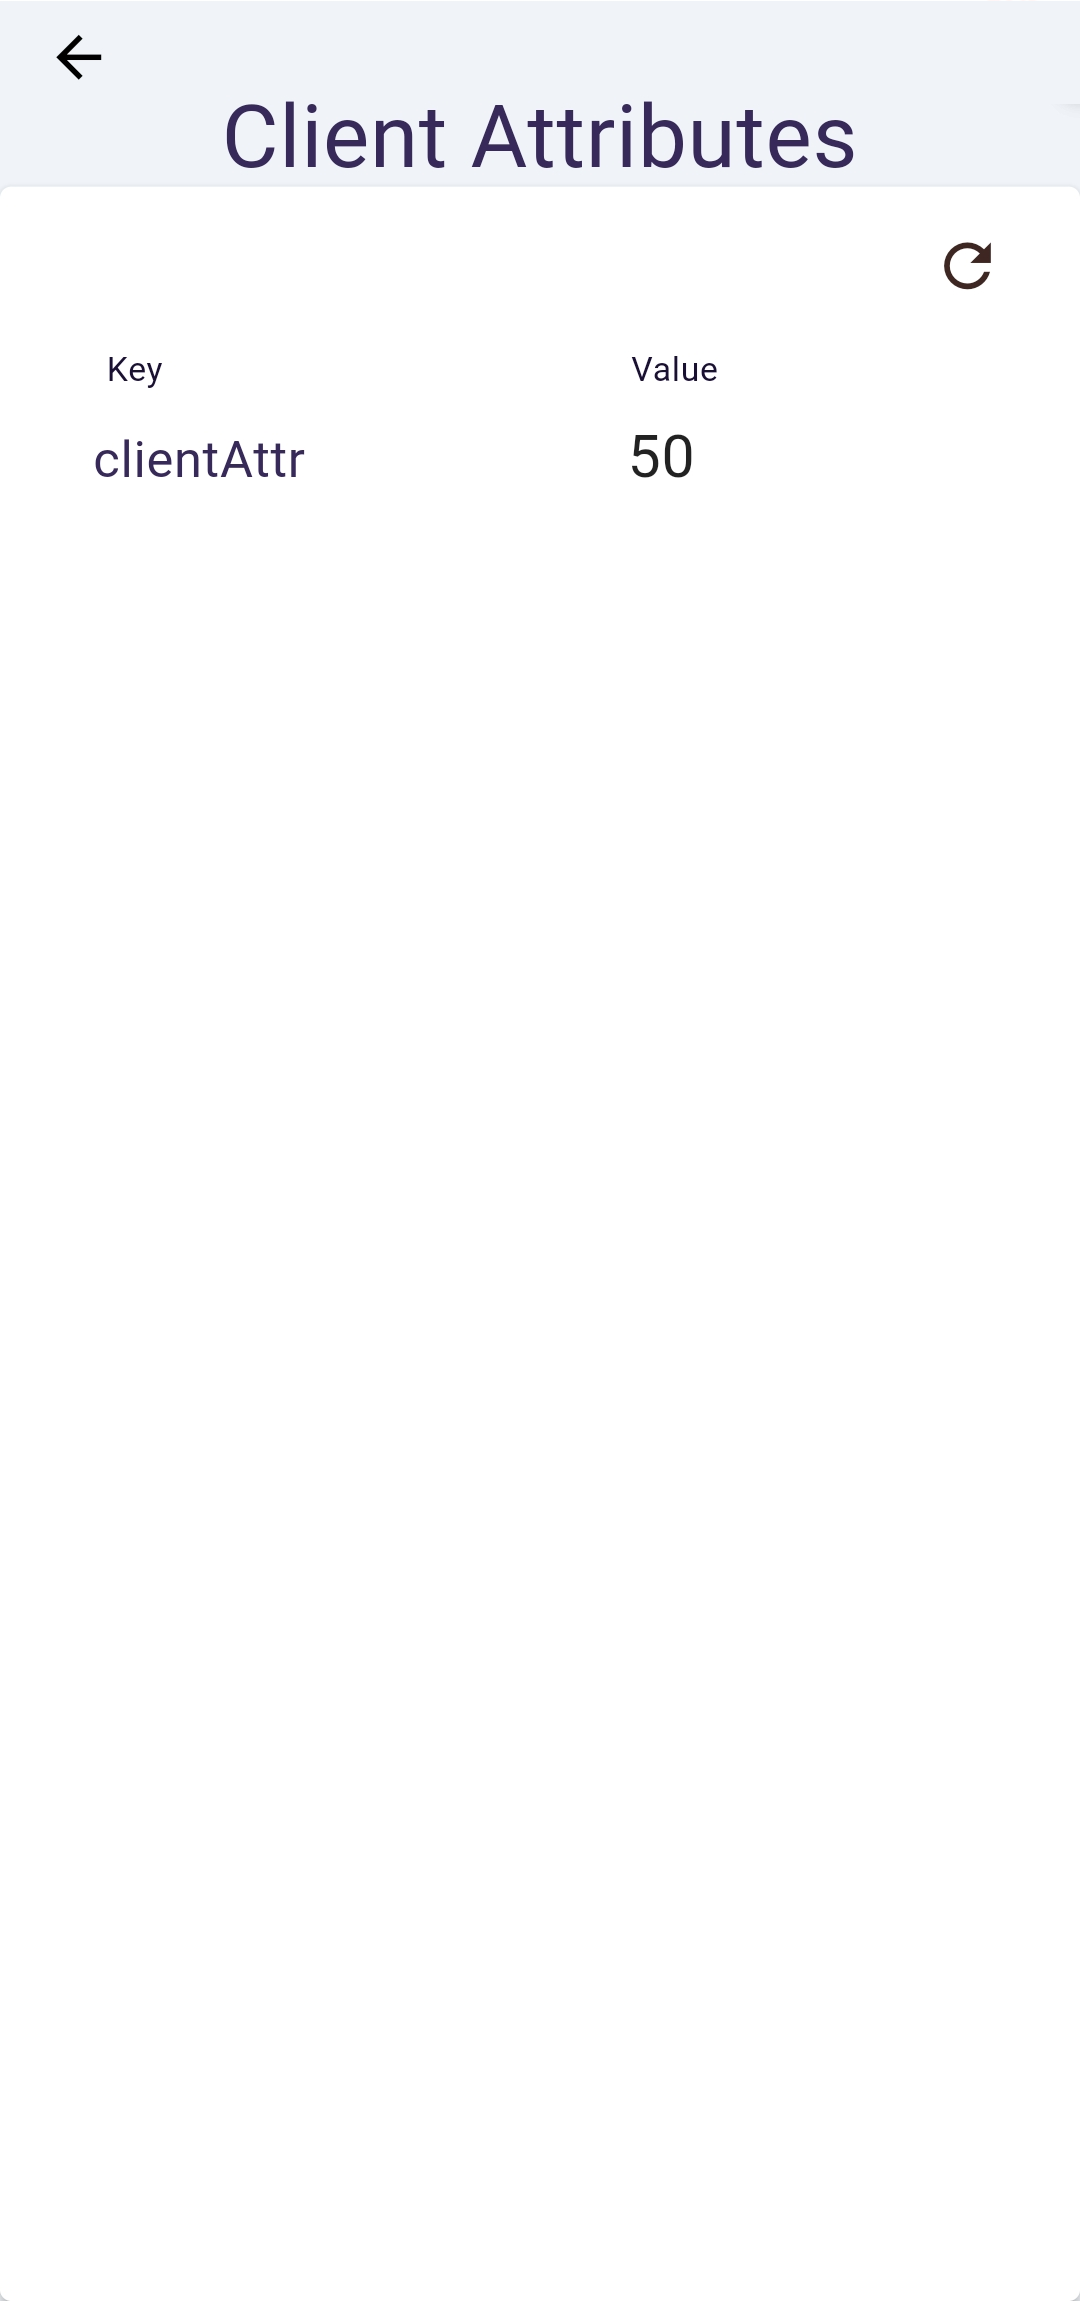
- Click the ‘Client’ button to view the client attributes page.
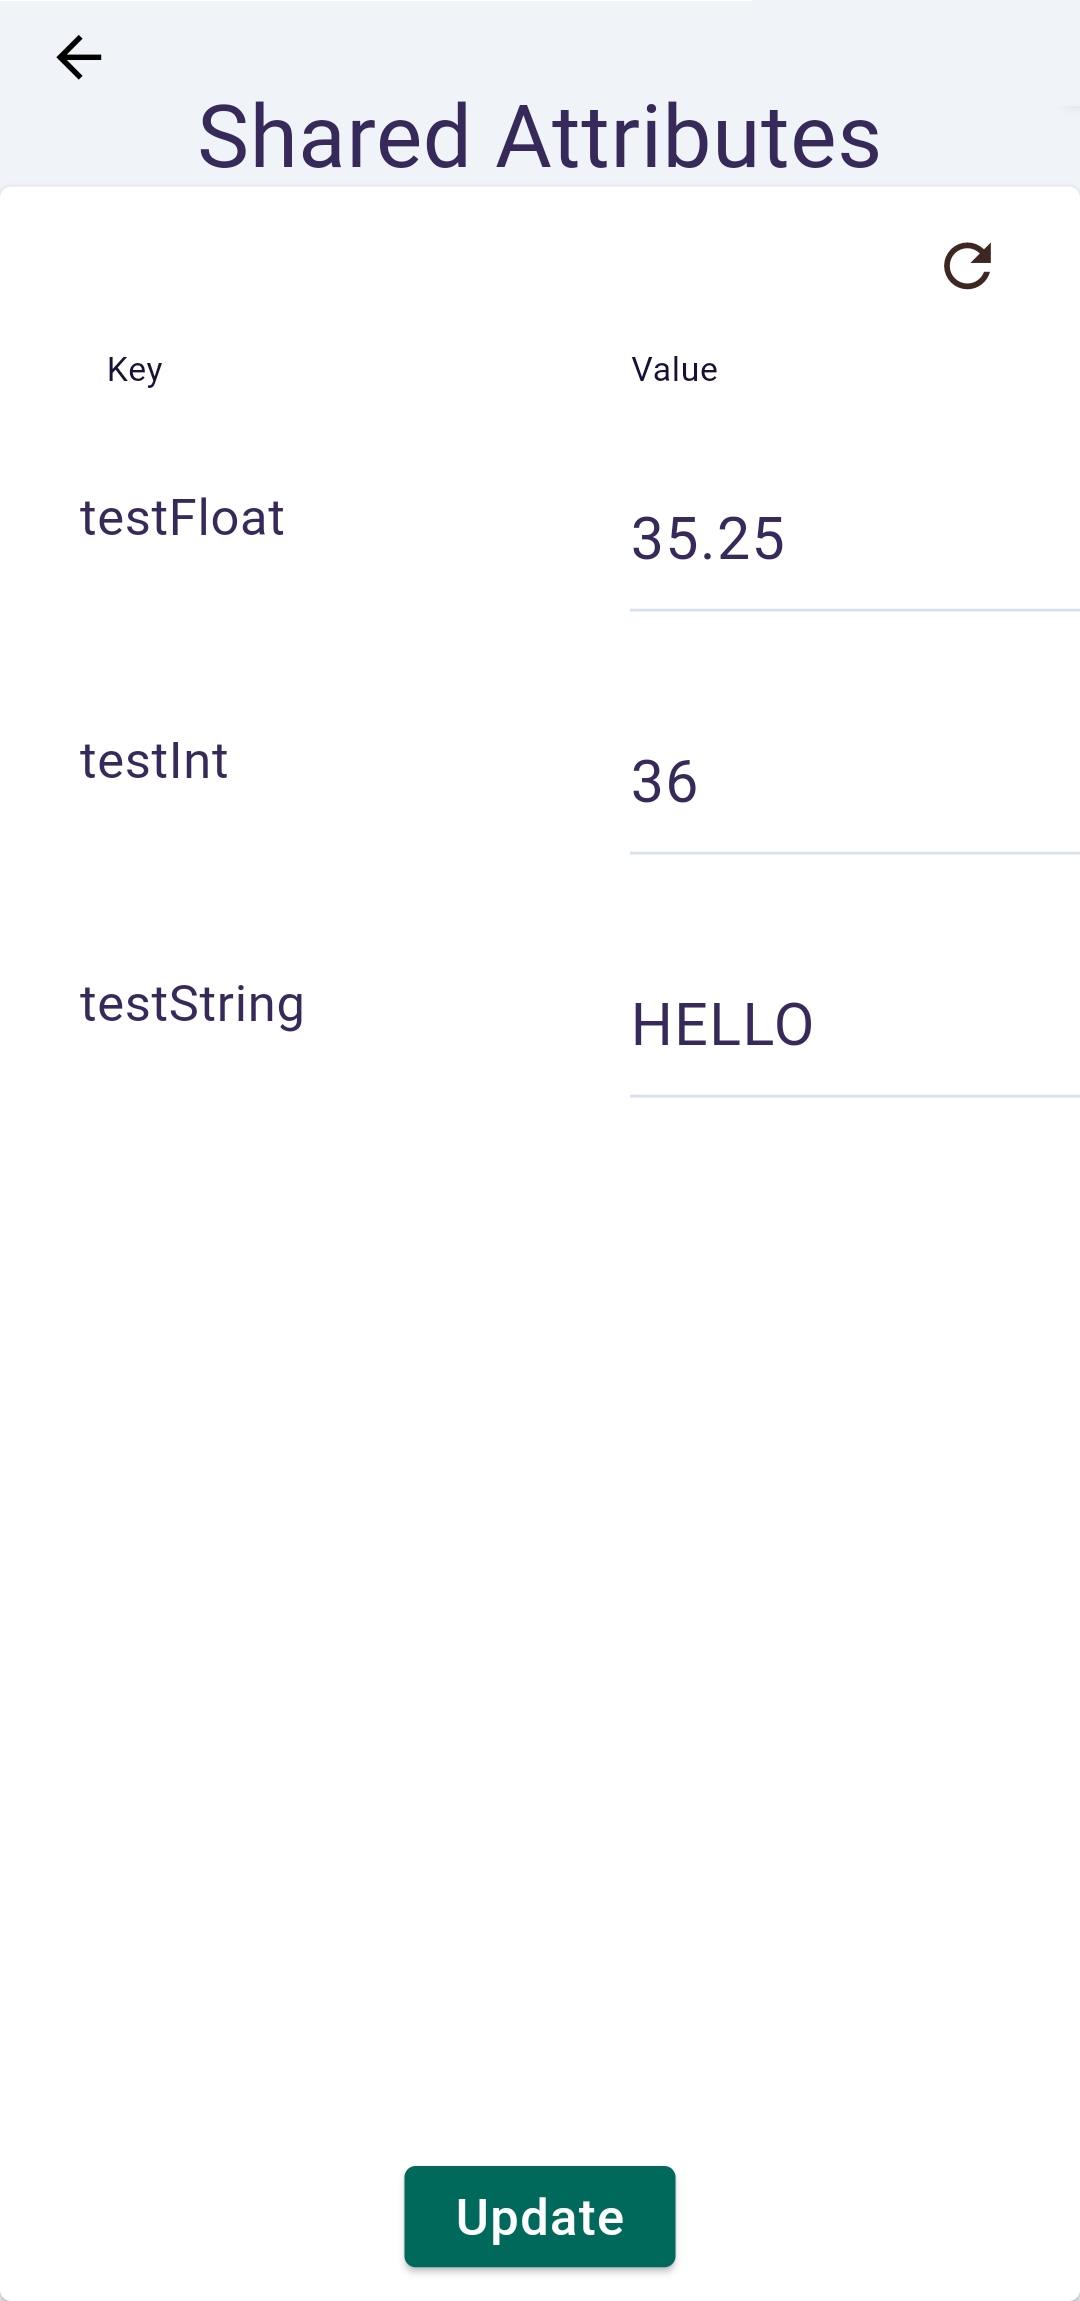
2.2.9 Shared Attributes
- On the Shared Attributes page, edit the ‘Value’ of a ‘Key’ and
click ‘UPDATE’ to publish it to the cloud. - Once it is updated in the cloud, you can see the same updated values on this value section.
Try it out
Try out the provisioning and other ThingsBoard examples such as telemetry, attributes, and OTA (Over-The-Air) updates on our IDF and Arduino-based platforms listed below.
Please take a look at the Thingsboard IoT Mobile App User manual video demonstration.
Check out the comprehensive ThingsBoard demo playlist showcasing telemetry, attributes, OTA updates, and real-time use cases from Buildstorm.
Licensing and Custom Solutions
If you’re looking for a customized solution, reach out at hello@buildstorm.com


